Wednesday, December 19, 2012

Doing some more mooning

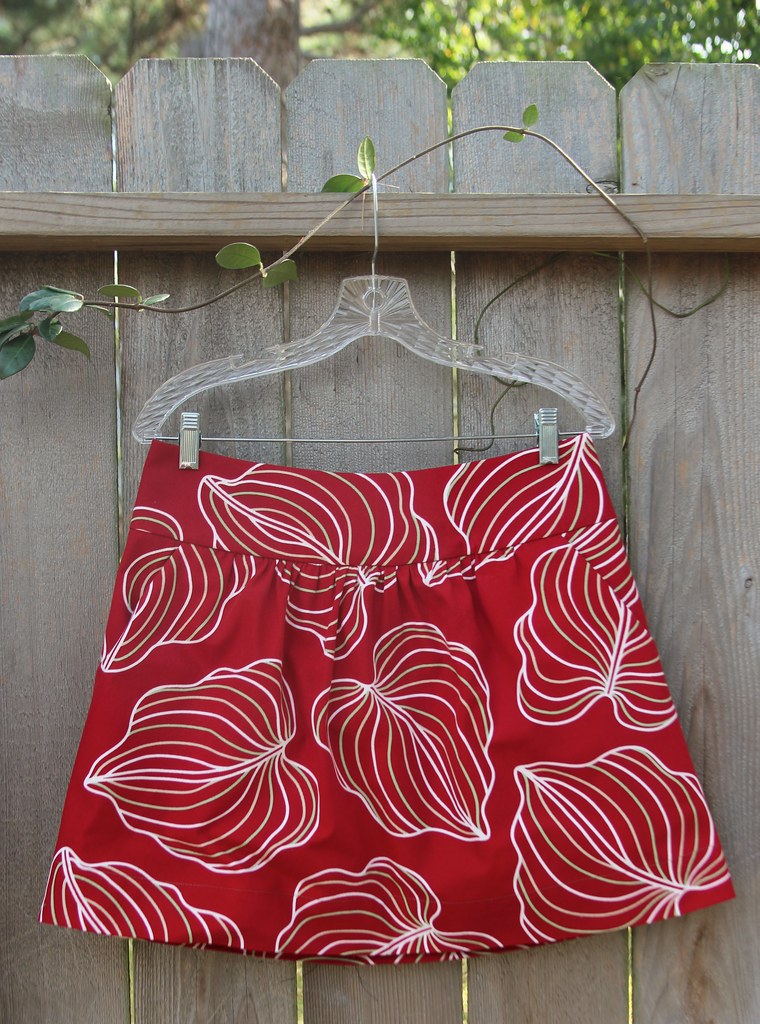
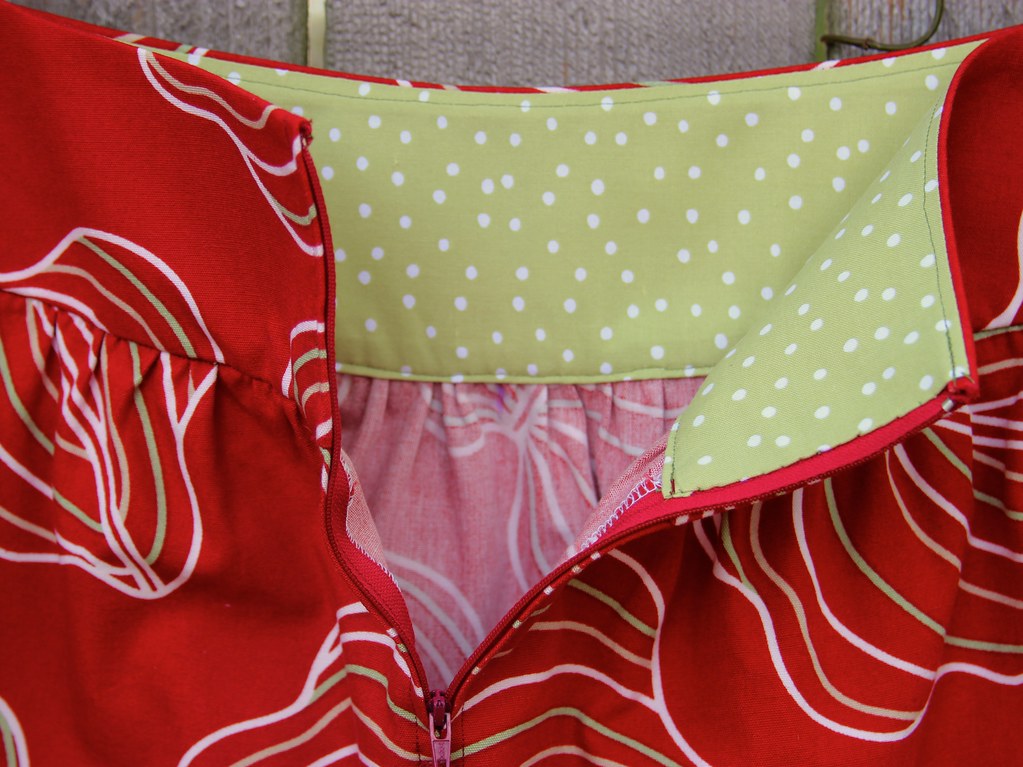
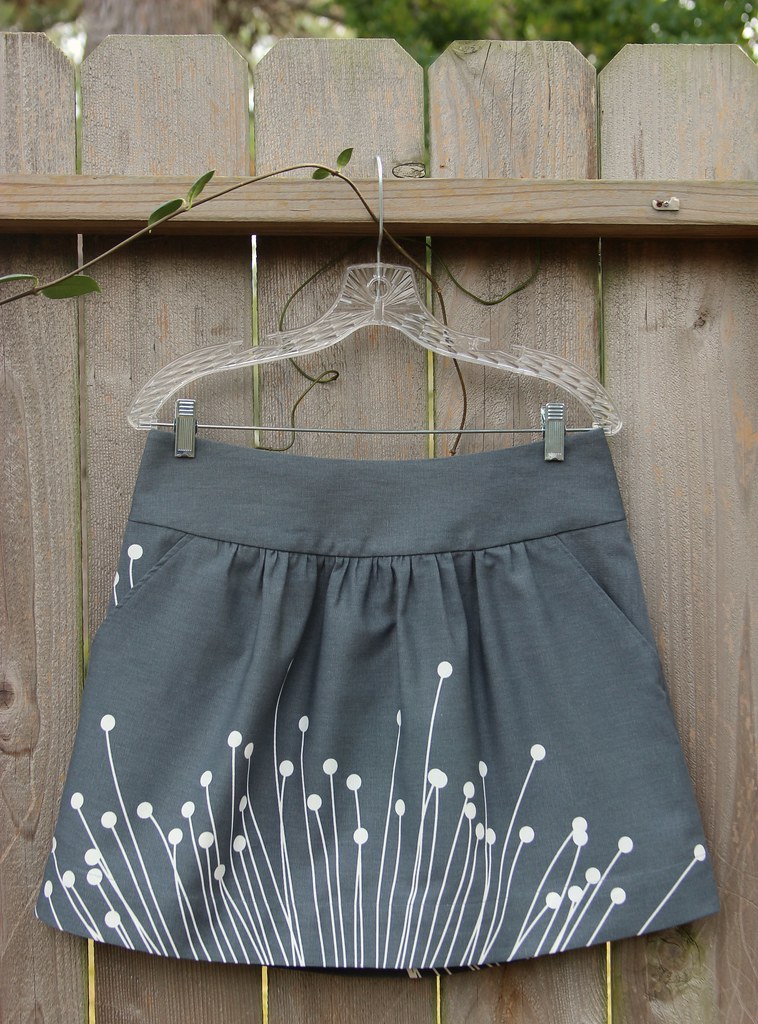
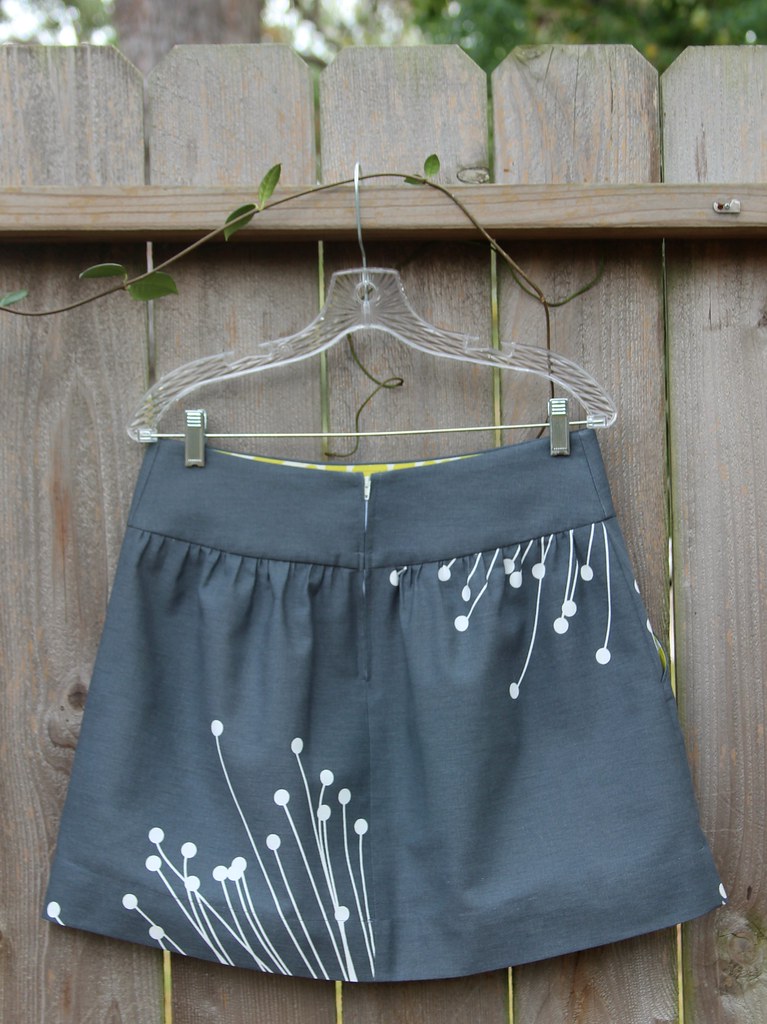
Whoops, been a while since I've posted.  And I actually have been doing some sewing ... more of the same-old same-old, though, so I'm not sure it's gonna excite you.   I made schmeebot five more Pacific Moons: most of them were completed over the long Thanksgiving (in the US that is) weekend.  I love making these -- so Zen, as I know exactly how they are going to come together.  We tweaked the pattern a tiny bit for this round:  the pockets are now two inches deeper and I'm making the waist measurement a half-inch smaller for stretch fabrics than for non-stretch ones.

Heeeere we go ...

I made a few solid colors.  First up is orange:  I made one already from this exact fabric and schmeebot has worn it out!  This is the only skirt of the bunch where I chose something specifically for the facing fabric.  The others all have facings that came from my huge scrap collection.


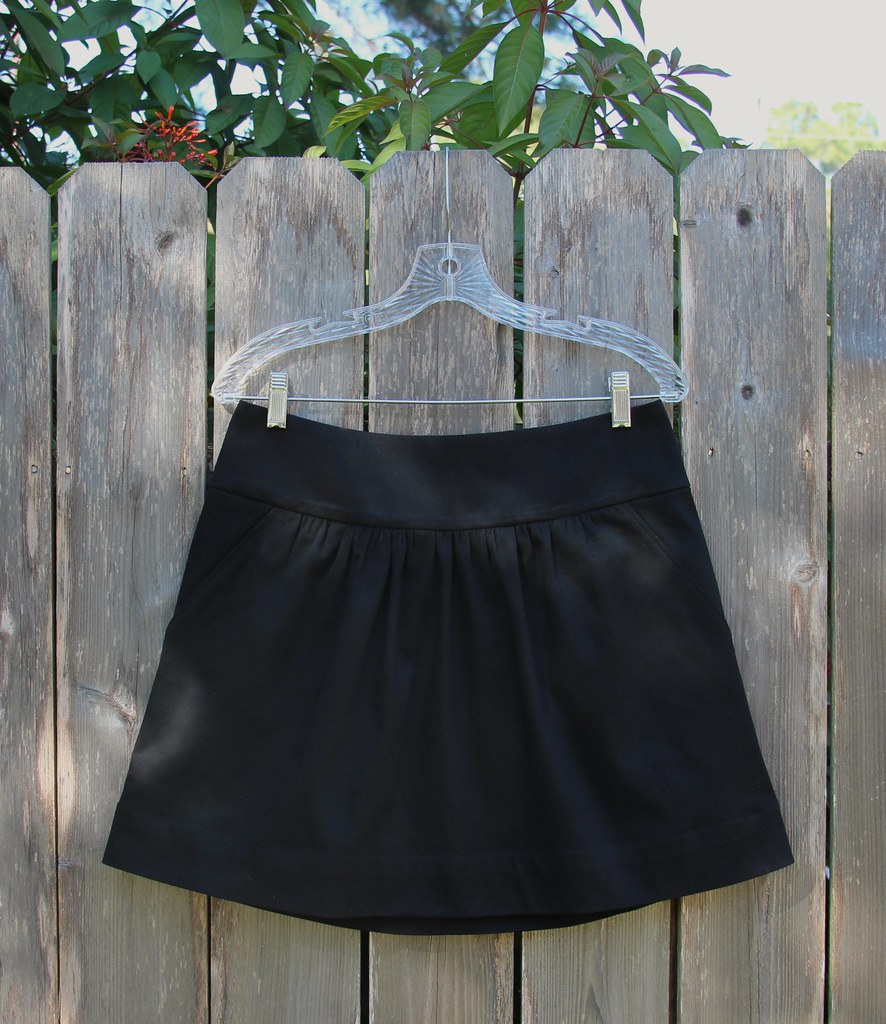
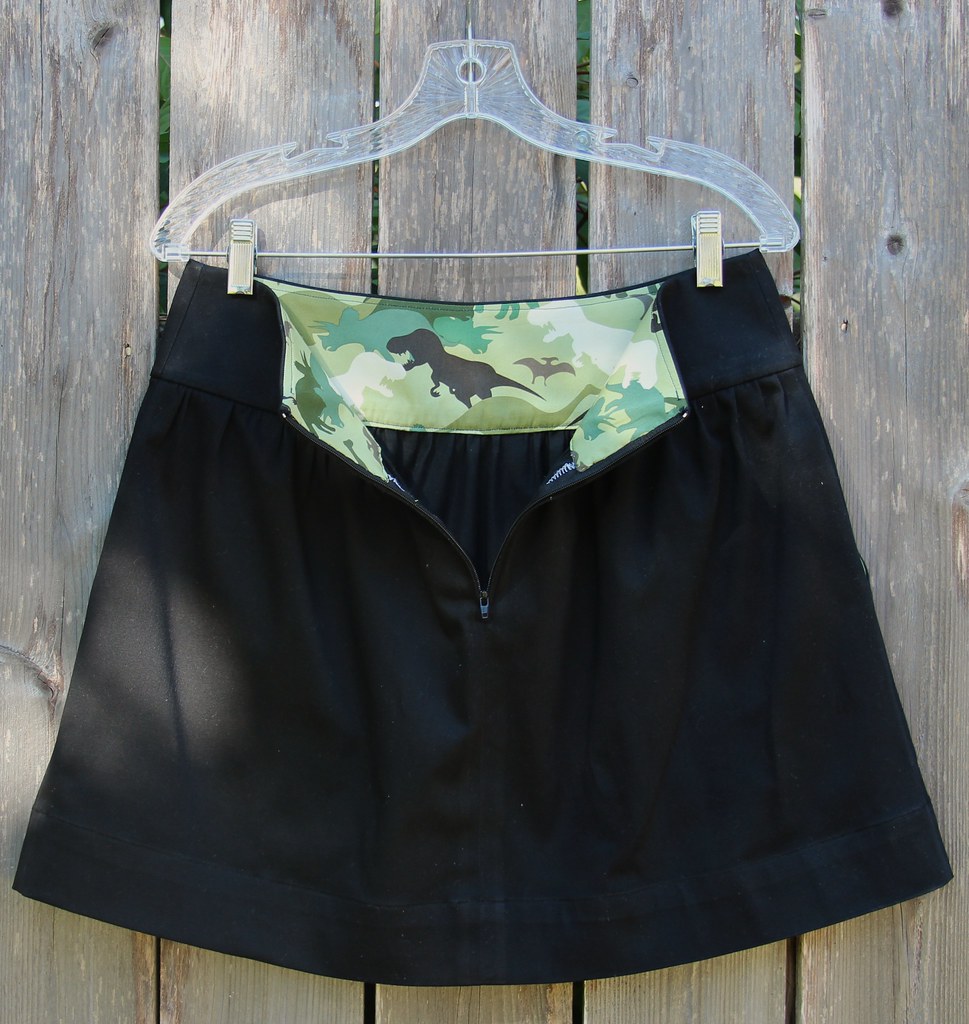
And of course she needed a basic black one.  Yoke facing (also pocket facing) is leftover from the dinosaur dress.


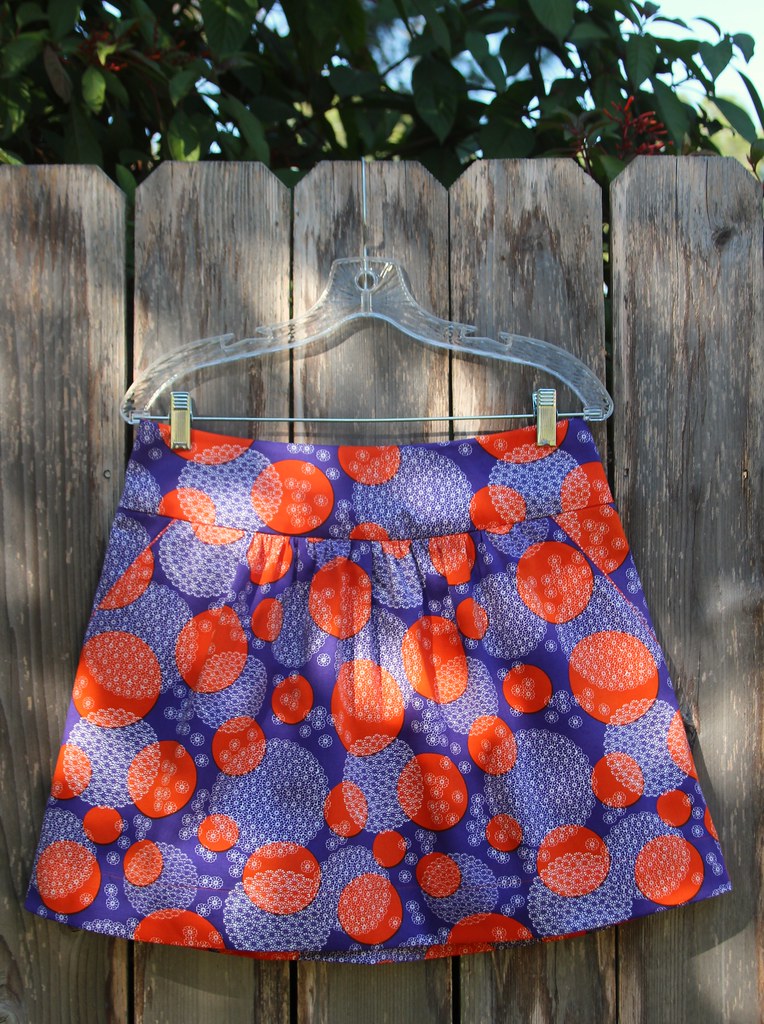
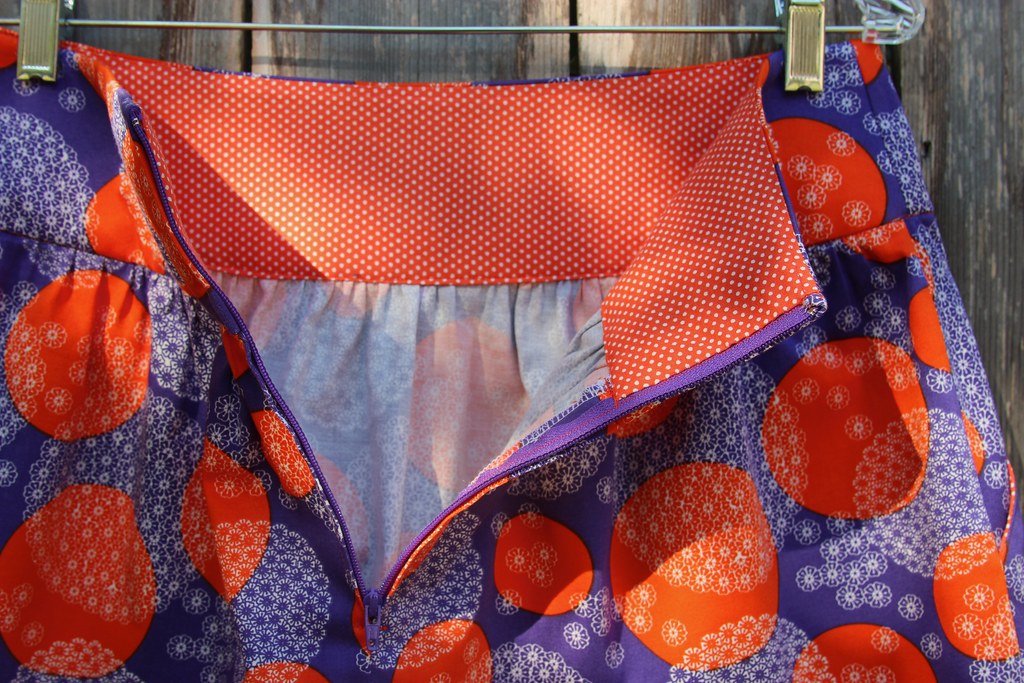
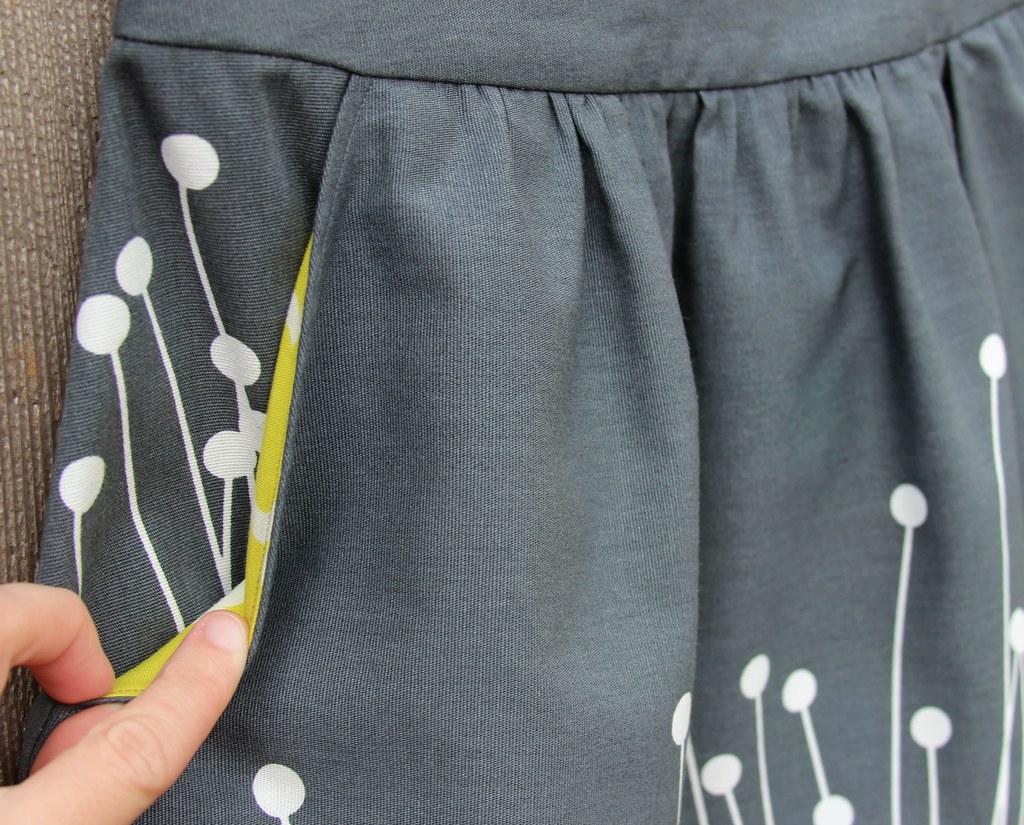
Then, prints.  I love this crazy fabric.  I love the orange-y dot fabric with it too, and let a little show at the edges of the pockets, rather than rolling it to the inside.  It looks a bit like piping that way.

This is the one schmeebot says she ends up wearing the most! It's made from Ikea home dec fabric.


And I've saved the best for last!  This is more Ikea fabric -- the print is a huge dandelion/sparkle thing.  I had fun figuring out how to lay out the skirt pieces to get an interesting design.  Eventually I will make myself one like this too.

I've also made myself a skirt from another Ikea fabric, and a Sewaholic Alma blouse.  And here comes the Christmas/New Years holidays ... and a big box of Ikea fabrics just arrived!    However, sewing now has to compete with a new hobby: not one I plan to blog about much, but I may share just one post on it sometime soon.

Saturday, October 27, 2012

The 90s called ...

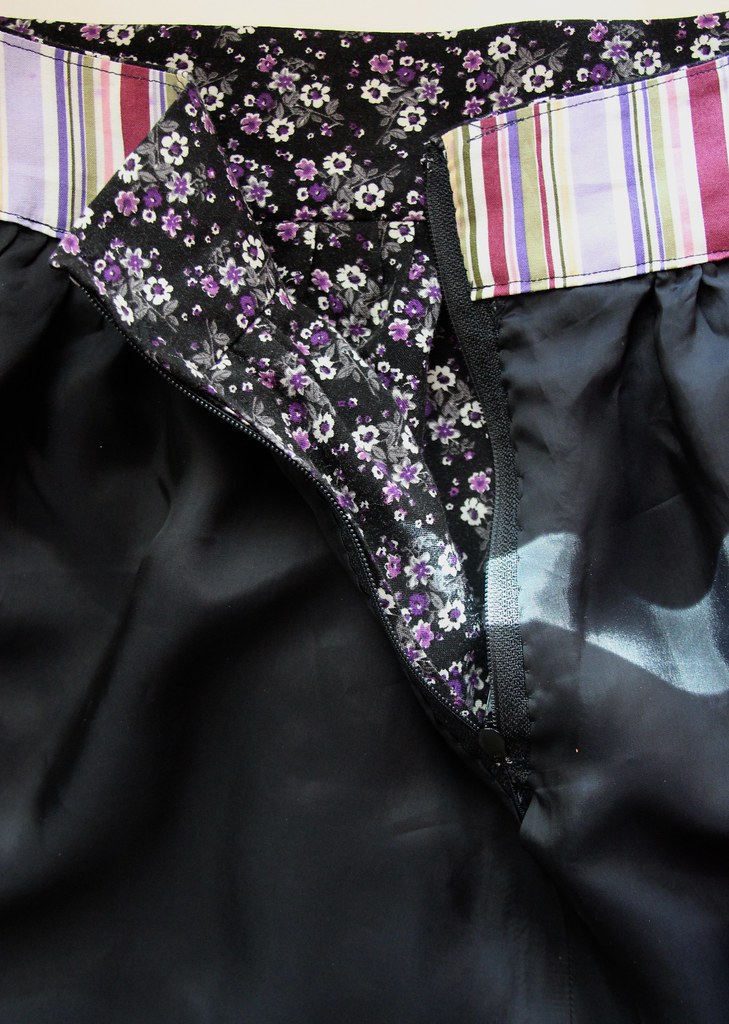
I think the 1990s may be looking for my latest finished garment!   I loved this kind of floral rayon skirt back then, so I am happy to steal this style from back in the day and give it another whirl.

There's not much to say about this one.  it uses the waistband I've been using for my "new moon" skirts, which was originally nabbed from a Burda pattern.  The skirt pieces are a revision of vintage Butterick 6075 (the pattern I used for the dinosaur dress in the last post), including the pockets I stole from a third pattern ... I can't even remember which one!

The floral rayon challis is from Fabric Mart a month or so back, and the skirt is lined with a Bemberg rayon that I got from JoAnn's.  Usually I get my Bemberg from High Fashion Fabrics, but it's a bit of a hike these days, and I was surprised to find that the stuff at JoAnn's is not quite the same -- it's a bit heavier, and for this project at least that's not a bad thing.  The waistband is just some cotton scraps -- not super happy with this combo with the fashion fabric but I couldn't dig out something I like better without a ton of effort so I settled for what was easy to get at.   My sewing stuff is still half packed away, as we are still figuring out how we want things in the new house.


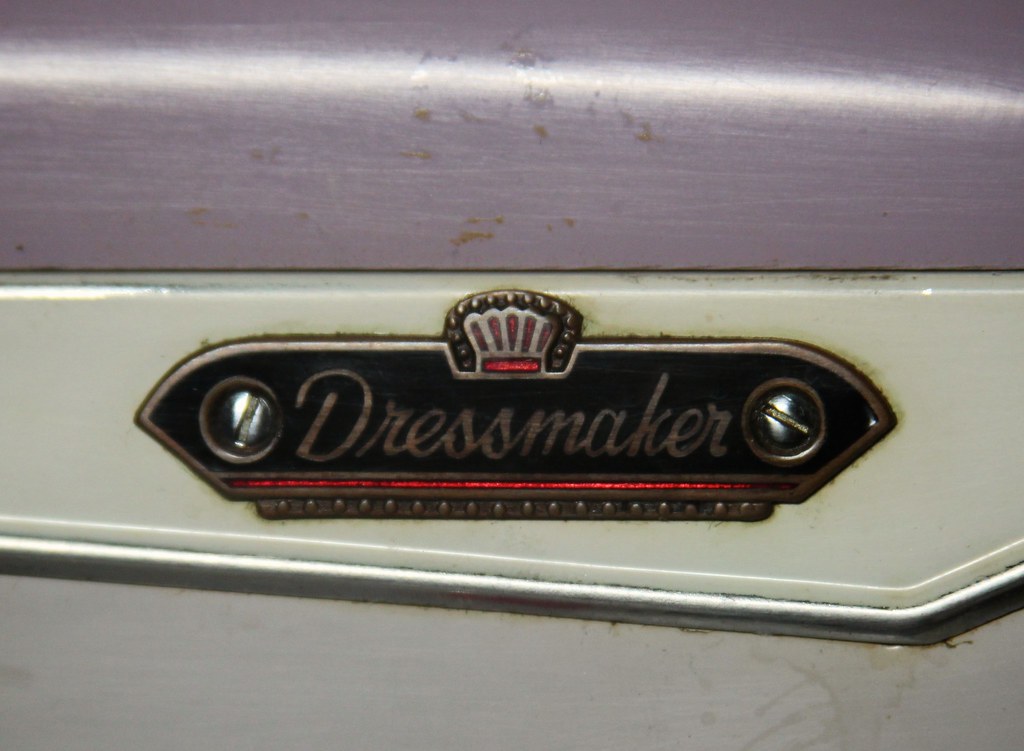
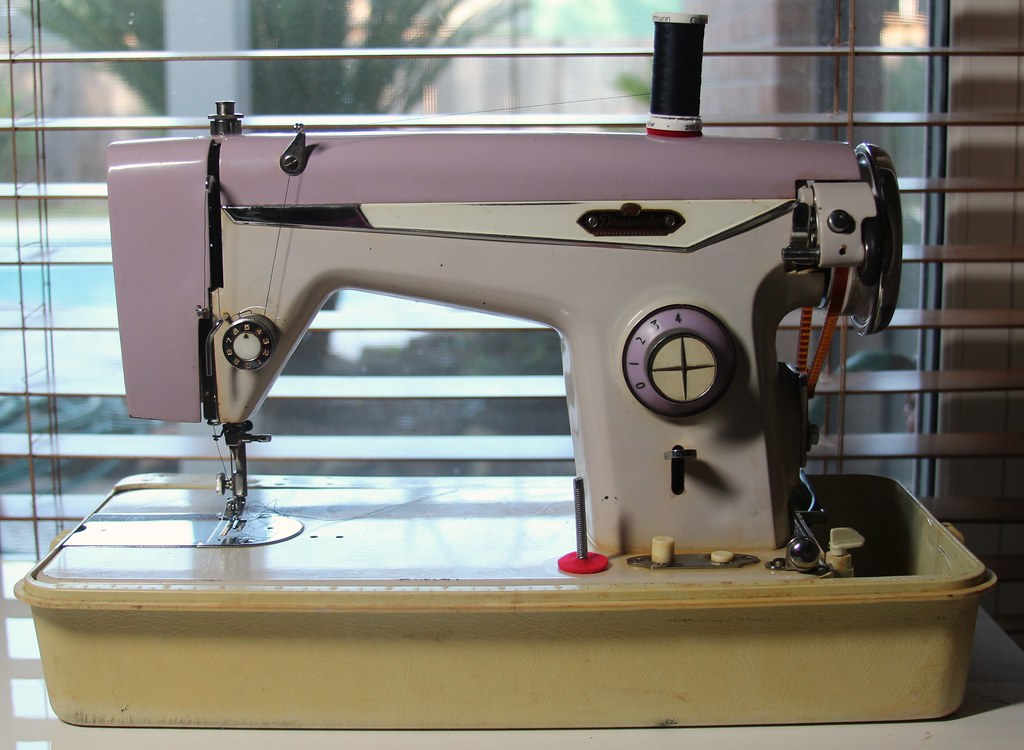
As sewing projects go, this skirt is not so exciting (though the Husband votes it one of his favorites ... he liked the 90s too).    What was a little bit more interesting for me about this skirt is the machine I sewed it on -- a 1950s Japanese-made Dressmaker machine I've had for a few years but haven't been able to use because it needed service to be used safely.   But guess what -- my new 'hood comes complete with a place that fixes sewing machines, so I am cycling my little collection through and getting them all up and running.   I plan to sew each of my upcoming projects with a different machine, and share a few notes on how they compare.

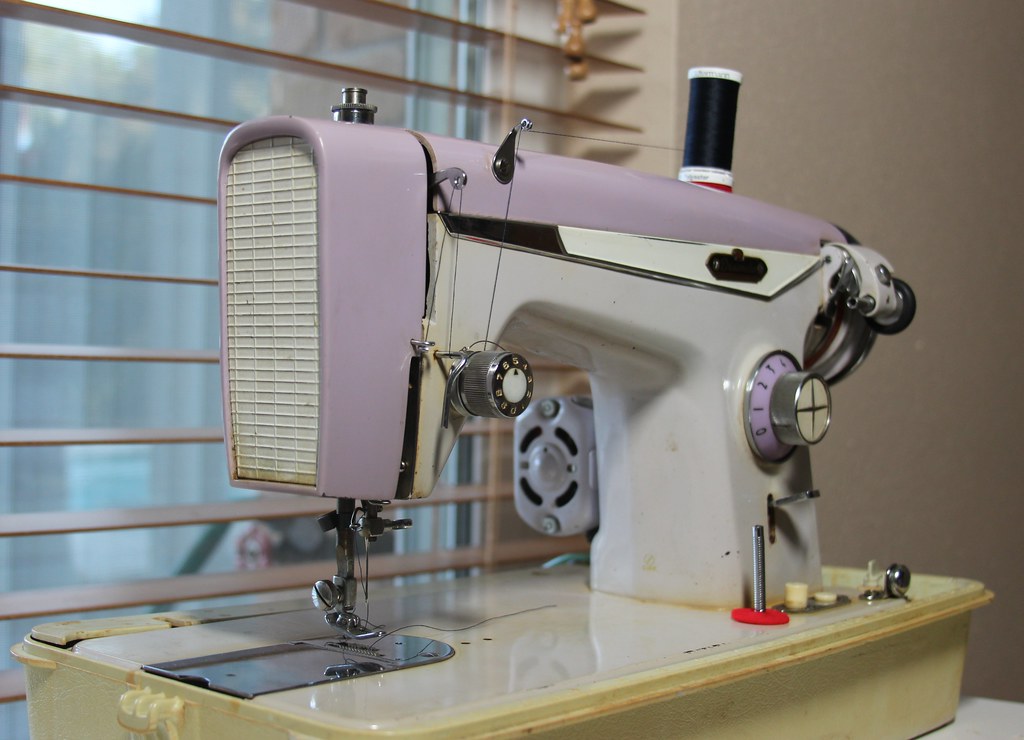
So, without further ado ... welcome the lovely lavender Dressmaker!!


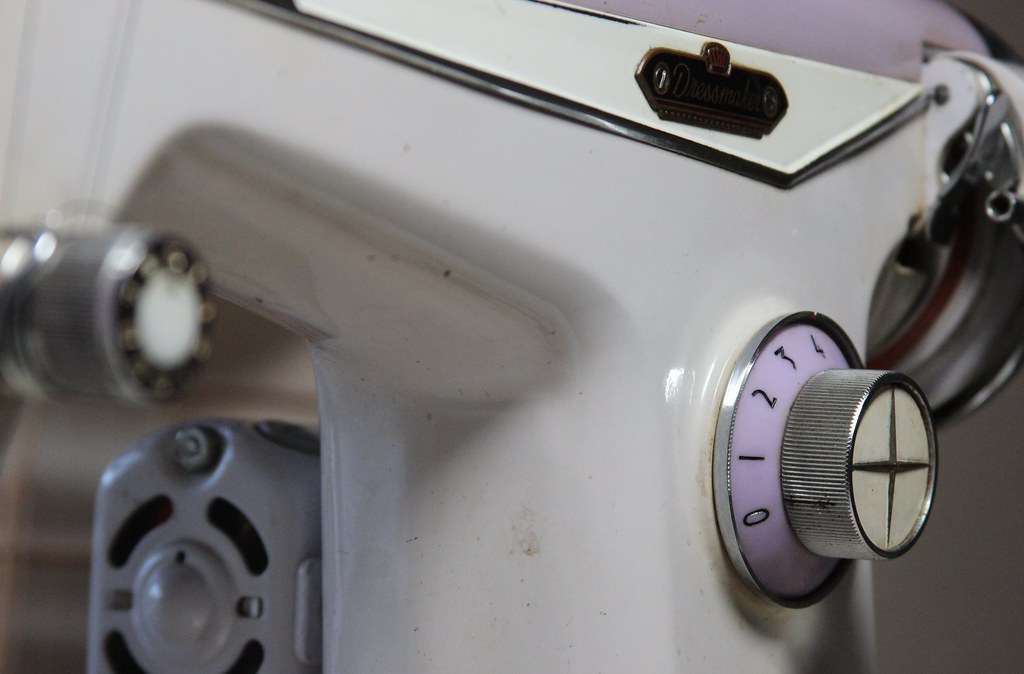
Ain't it a beauty?   This is a straight-stitch "15 clone", which is to say a knock-off of the Singer 15-91.  In reality, these machines can differ quite a bit, both in appearance and mechanical specs.  There are seemingly infinite numbers of 15 clones out there, and lots of old Dressmakers, but I haven't seen another one quite like this!  I love the color, and the overall design.   The machine is not in pristine condition, but it has the kinds of marks that come from regular use, and I think it was loved by someone in the past.  I bought it from a guy here in Houston who was downsizing his sewing machine collection.  Mostly he had Singers (and a ton of Featherweights!) but I had my eye on his two Japanese machines, and bought them both for a very reasonable price.


Now that it's all tuned up this machine was a blast to use!  I was surprised at how effortless it was to control my stitching when I went over seams and multiple layers of fabric.  This machine has a 1.0 amp motor (my usual machine, a four year old Janome 4900QC, has a .5 amp motor) and its metal gears give it more piercing power for sure, but I didn't expect to notice such a difference when I was just sewing rayon challis. What was most amazing was that I put in the best zipper I have ever done, without even having a proper zipper foot!

I thought I would miss my Janome's needle down button, and I did a little at first, but I quickly got used to just rotating the hand wheel to position the needle where I wanted.  I do still have a little trouble controlling things when I go in reverse on this machine, but I think I can master that with just a little more practice.   This machine also lacks seam allowance markings on the face place:  I could easily order a replacement plate with markings, but I found that the edge of the screw was at exactly 5/8 inch, so I didn't have much of a problem.   When I wanted to make an inch deep seam at the hem, I just put down a piece of Scotch tape on the plate to guide me.


I look forward to using the Dressmaker again ... but next I'll be trying out another vintage machine, this one more recently acquired.  Stay tuned!

Before I go, I'd like to share one more change in my sewing room.  The new house has carpet in my sewing area ... suffice it to say, you cannot hear a pin drop.   Like most husbands, mine is not a fan of finding pins with his feet, so he picked out some new pincushion bling for me, as seen here.  I'm actually finding I like the big flat plastic heads (and they show up better on the carpet).   The one drawback is that I can't pin as close to the edge of a pattern piece, or the big head will interfere with cutting.

Thursday, October 11, 2012

Dinosaur dress

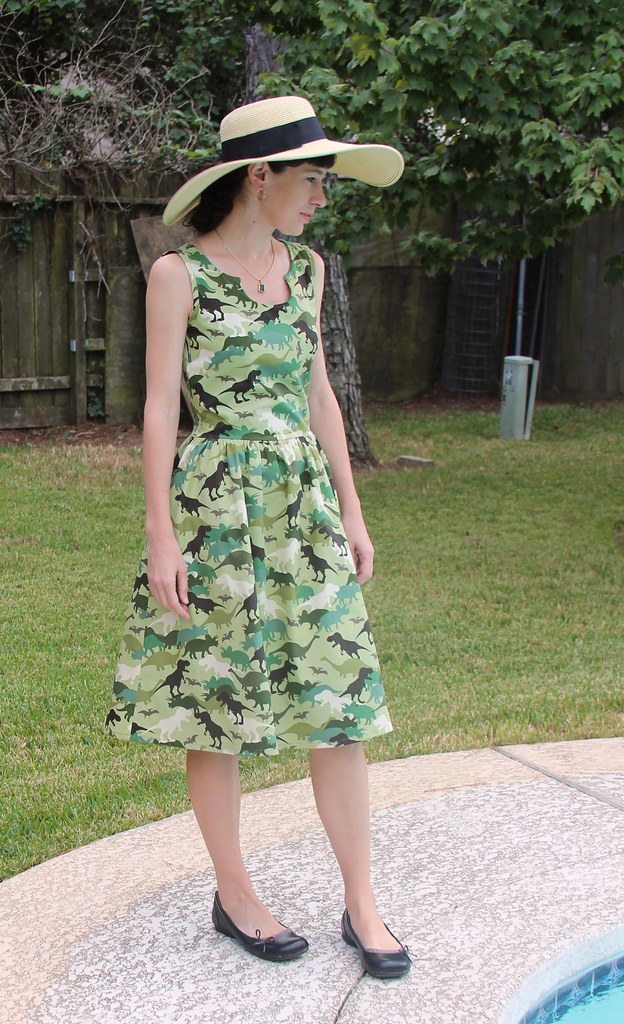
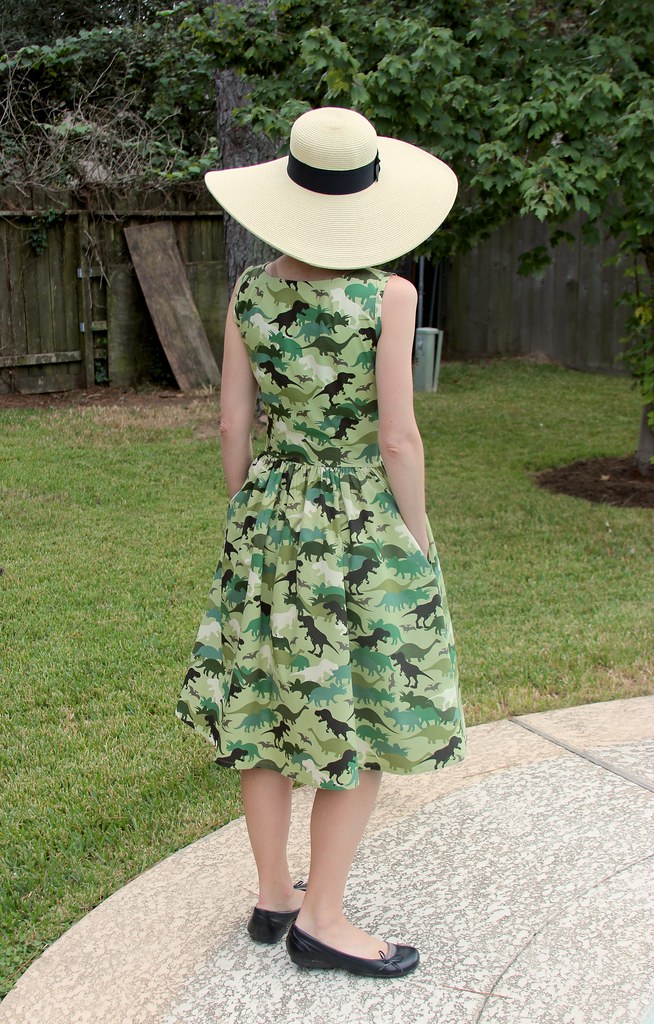
I turned 40 last week.  One of those big "ending-in-zero" birthdays one tends to over-think.  I decided to make a dinosaur dress instead.   I've had this fabric in my stash since dinosaurs walked the earth  I started back to sewing four years ago.  I bought it at Joann's -- quilting cotton, nothing fancy, but it amuses me.  And I am not the only sewist to go for the dino-camo!

I used Butterick 6075 for the fourth time. (Also used here, here and here.  And I think the first one is still my favorite.)  It seems if I really like a dress pattern I make it four times.  This is ... the fourth time I've done that. What do you know.  (The others were Butterick 6074, Butterick 6149, and Serendipity Studios Claire Cami dress, not that there's a pop quiz at the end of this or anything.)

So, goofy dinosaur-dress:


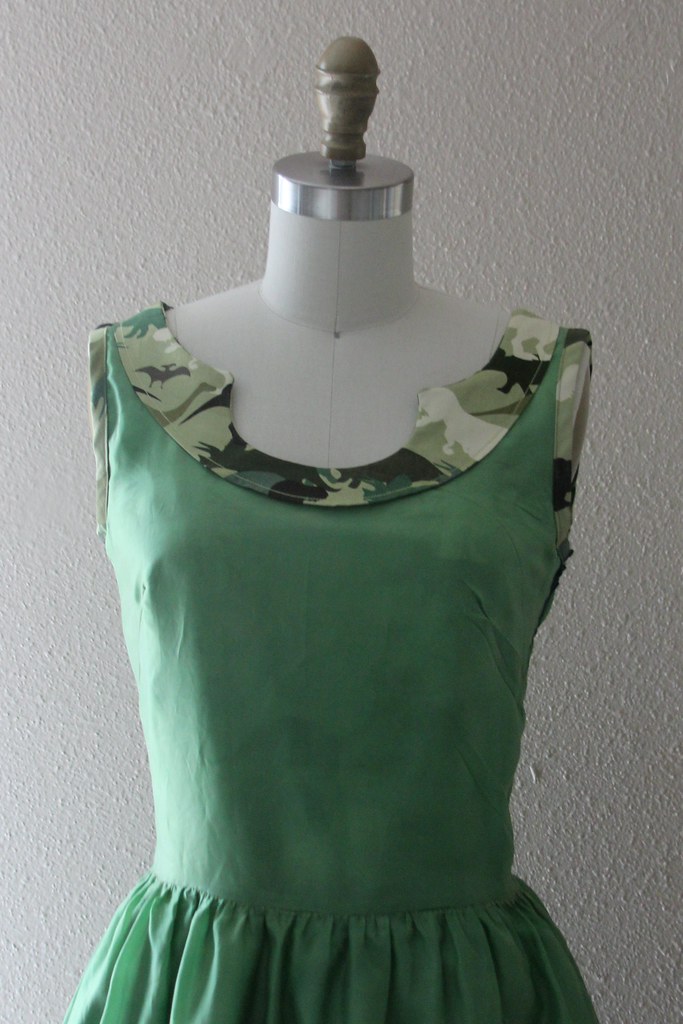
This version's a bit more fitted, and the neckline a bit more scooped out.  Since I have made this four freaking times it came out pretty much like I wanted it to.  It's lined with Bemberg rayon.  I would have preferred a more yellow-based green but I already had this on hand.  


Now, about the hat.  It's a birthday surprise from my husband -- all cute and vintage-y, yet a darned practical sun hat as well!  It's fun to wear and hides the fact that my hair's pretty much never styled.   I may just wear it in all my finished garment photos from now on. Also: this hat makes me feel like Raiden from Mortal Kombat.  I'm not sure why because Raiden's hat is pretty much totally different.  

(Source)
FINISH HER, RAIDEN!


Anyhow, yay hat!

Tuesday, October 9, 2012

Cambie #2

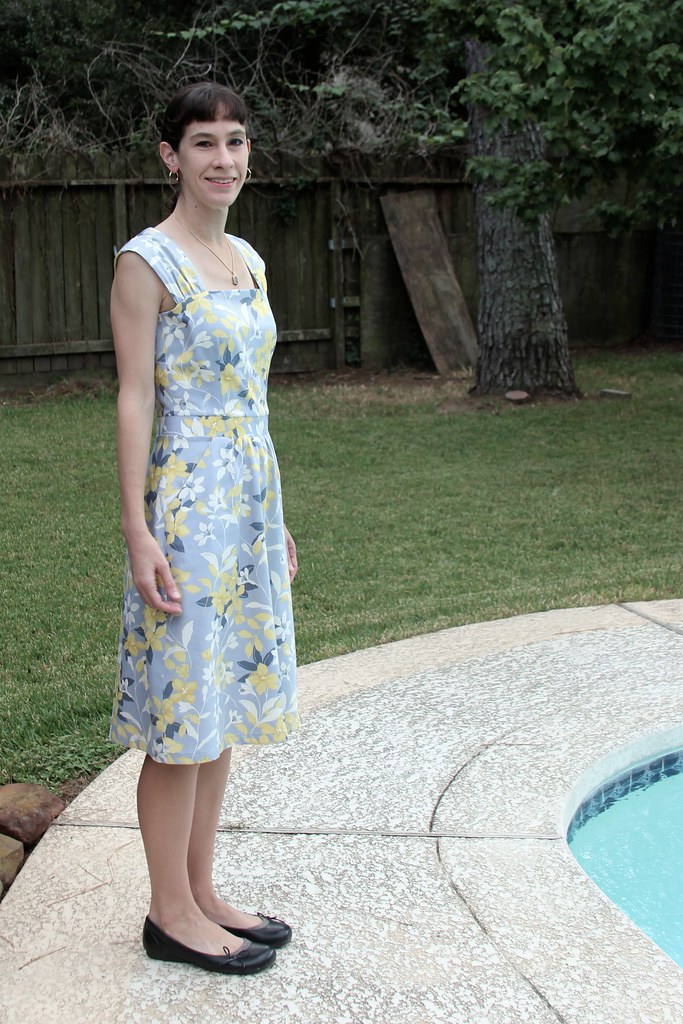
OK, so in my last post I said I'd show you my other Cambie soon.  Let it be known,  I suck at "soon".   This one I cut out in late June or early July in the old house and finally assembled a month or so ago in the new digs.   It just needed a few fit tweaks to address things that bugged me in the first one.  I think the a-line skirt is more flattering than the fuller skirt on me too.

Heh, awkward-pose.

I think this dress is perfectly suited for a very subdued luau!  The fabric is cotton sateen from JoAnns.


I expect I'll be making this again at some point -- I'd like a solid-colored version.  Probably I'll move the shoulder straps in a smidge next time.  My bra straps are covered, but only barely!  Otherwise, the fit is good enough for me.  Changes from the original version include adding bodice length, and a little extra room at the waist.  I also did the straight-across neckline variation instead of the sweetheart neckline.

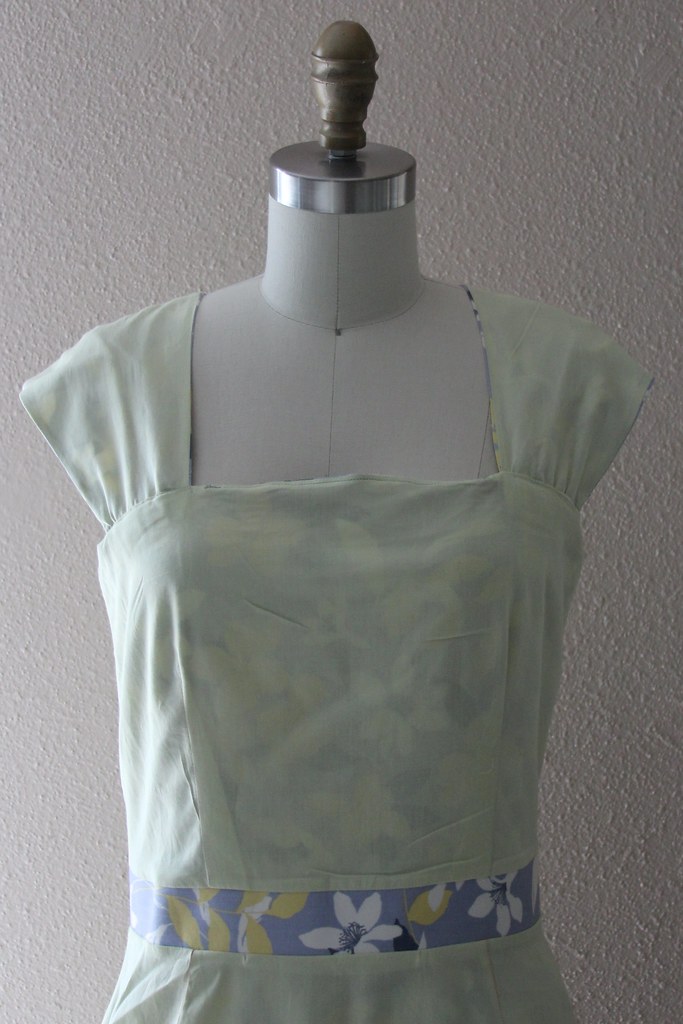
The lining is cotton batiste.  Et voila, the insides.  Sorries for the wrinkles and the bad lighting.


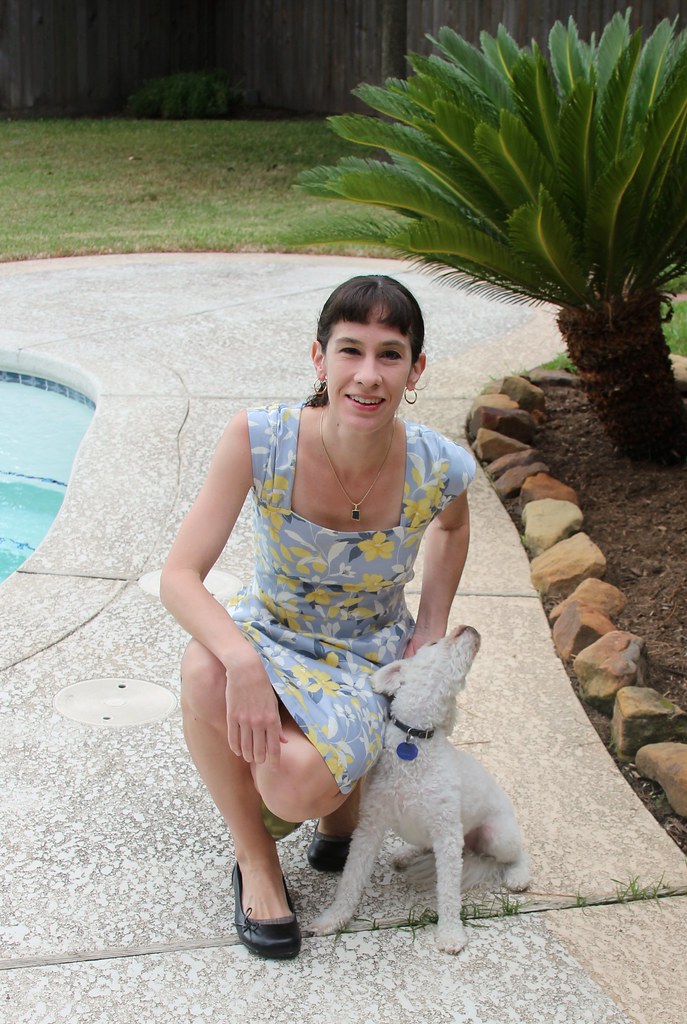
And finally, a happy dog shot.  I like photos of me and my dog far more than photos of just me, even when they don't show my sewing efforts to particularly good advantage.  Though perhaps you can tell that there's not much gapping at the neckline even though I am leaning forward, which is a Good Thing.  Also, you probably figured it out already, but my dog is amazing!

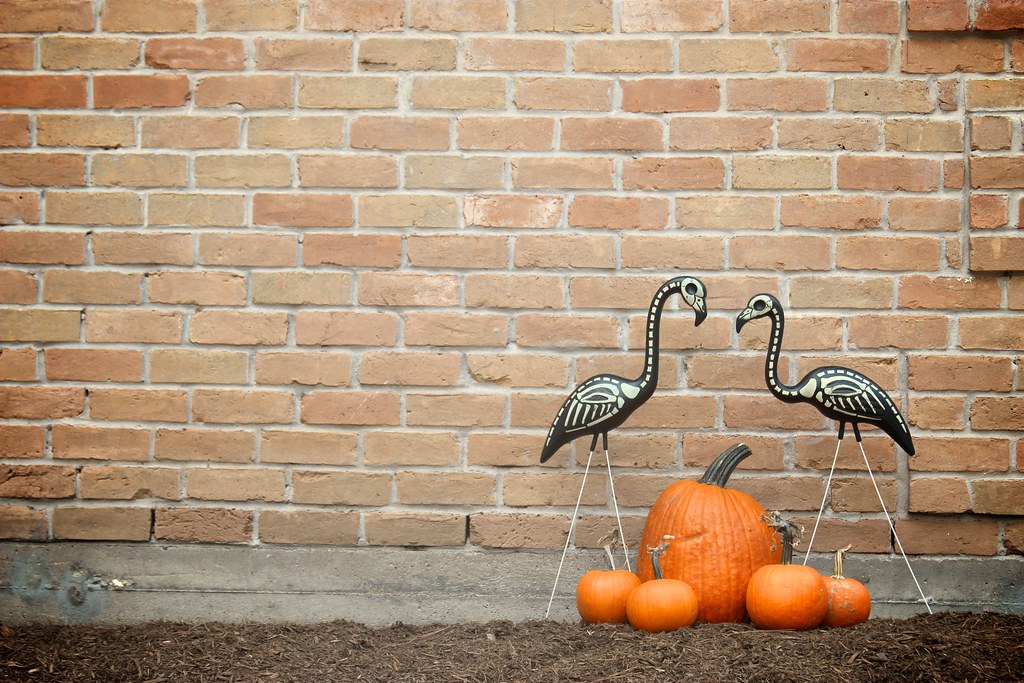
In other irrelevant news, we put out our Halloween decorations!  We kept it low-key because that seems to be what the neighbors are doing.  We are new, we want to fit in.  :)   I've actually had the skelemingos for years with nowhere to put them.  Hooray for finally having a yard!  (Next step ... have something growing in the flower beds instead of just mulch, lol.)


Sunday, September 23, 2012

Hey, remember me?

So, howdy, long time no see!   The last few months have been busy ones at Casa Invisible ... mainly because said casa has moved about 30 or so miles west since I last posted.   Before I lived in the middle of Houston: now I'm on the very far western edge in the city of Katy.   Though Houston has grown out to meet Katy, the "old town" portion where we live retains its small-town feel. As we decided to move, we wondered if we'd miss the neighborhood we'd lived in for 18 years, where we were within walking distance of museums, universities, the zoo, restaurants and one of the city's biggest parks.   But Katy felt like home right away, and we love the change of pace.  We've already been to a local crafts fair, and the antiques stores in "downtown" Katy actually have great finds in them ... one of which came home with me and is now (hint, hint) getting a tune-up at the local sewing machine center -- didn't have one of those in the old 'hood!

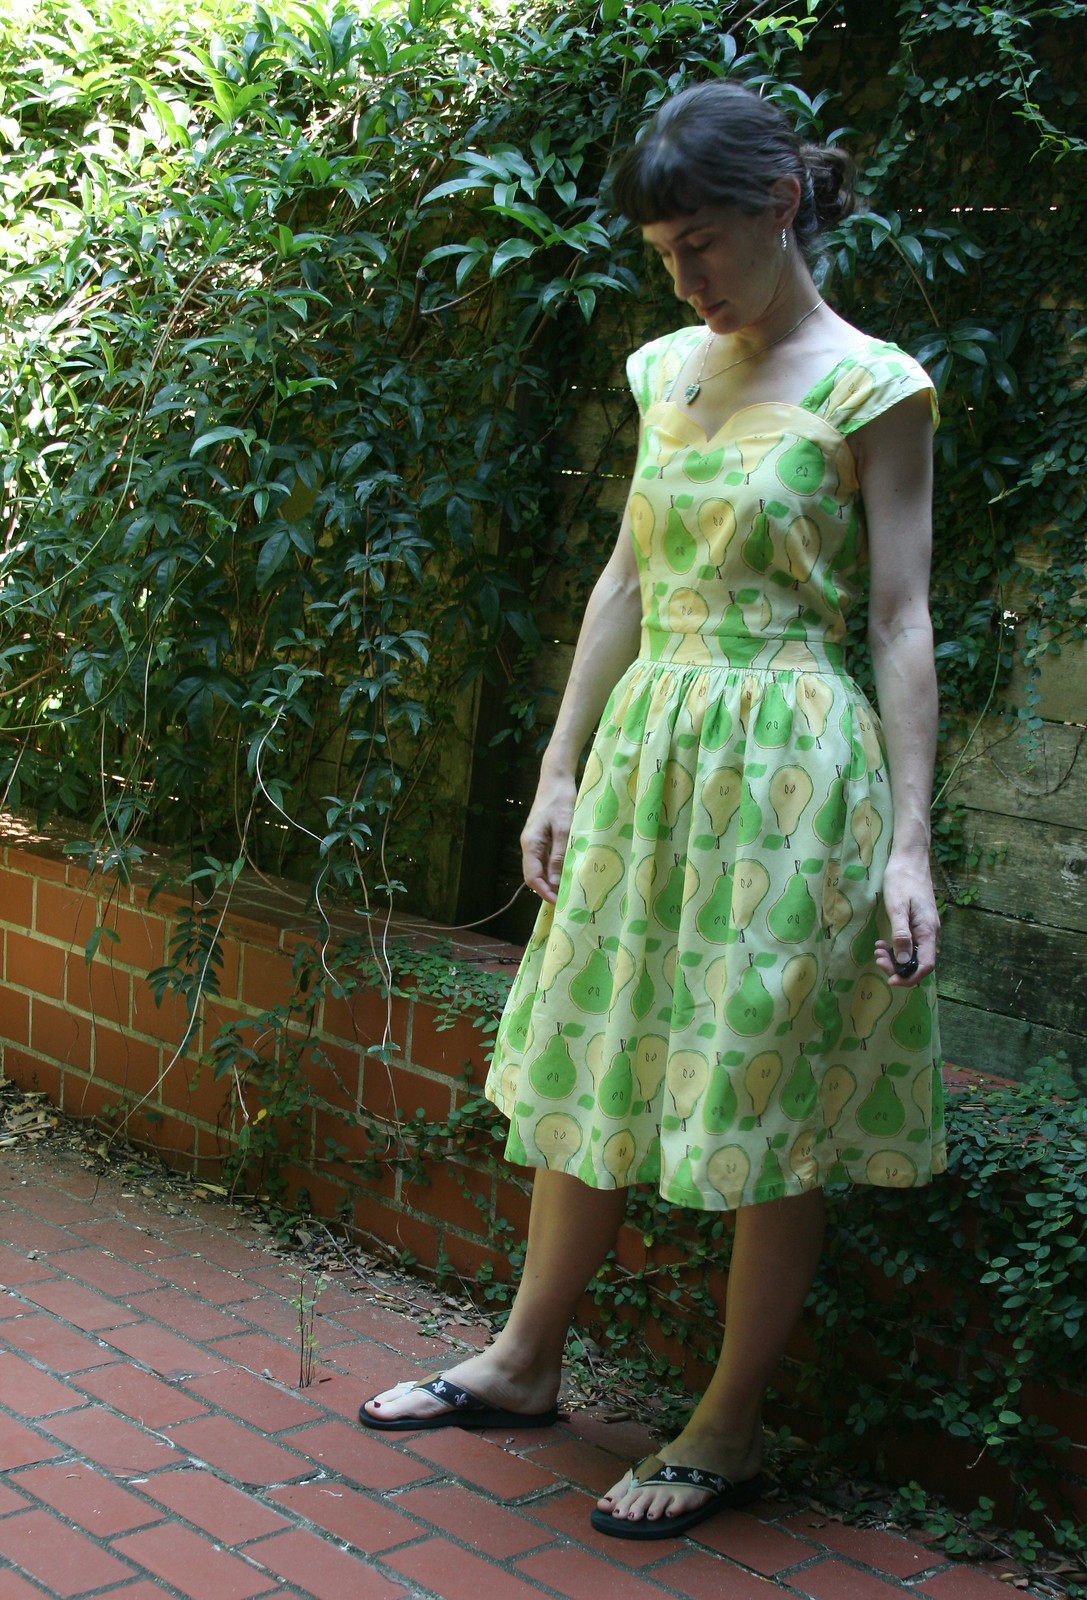
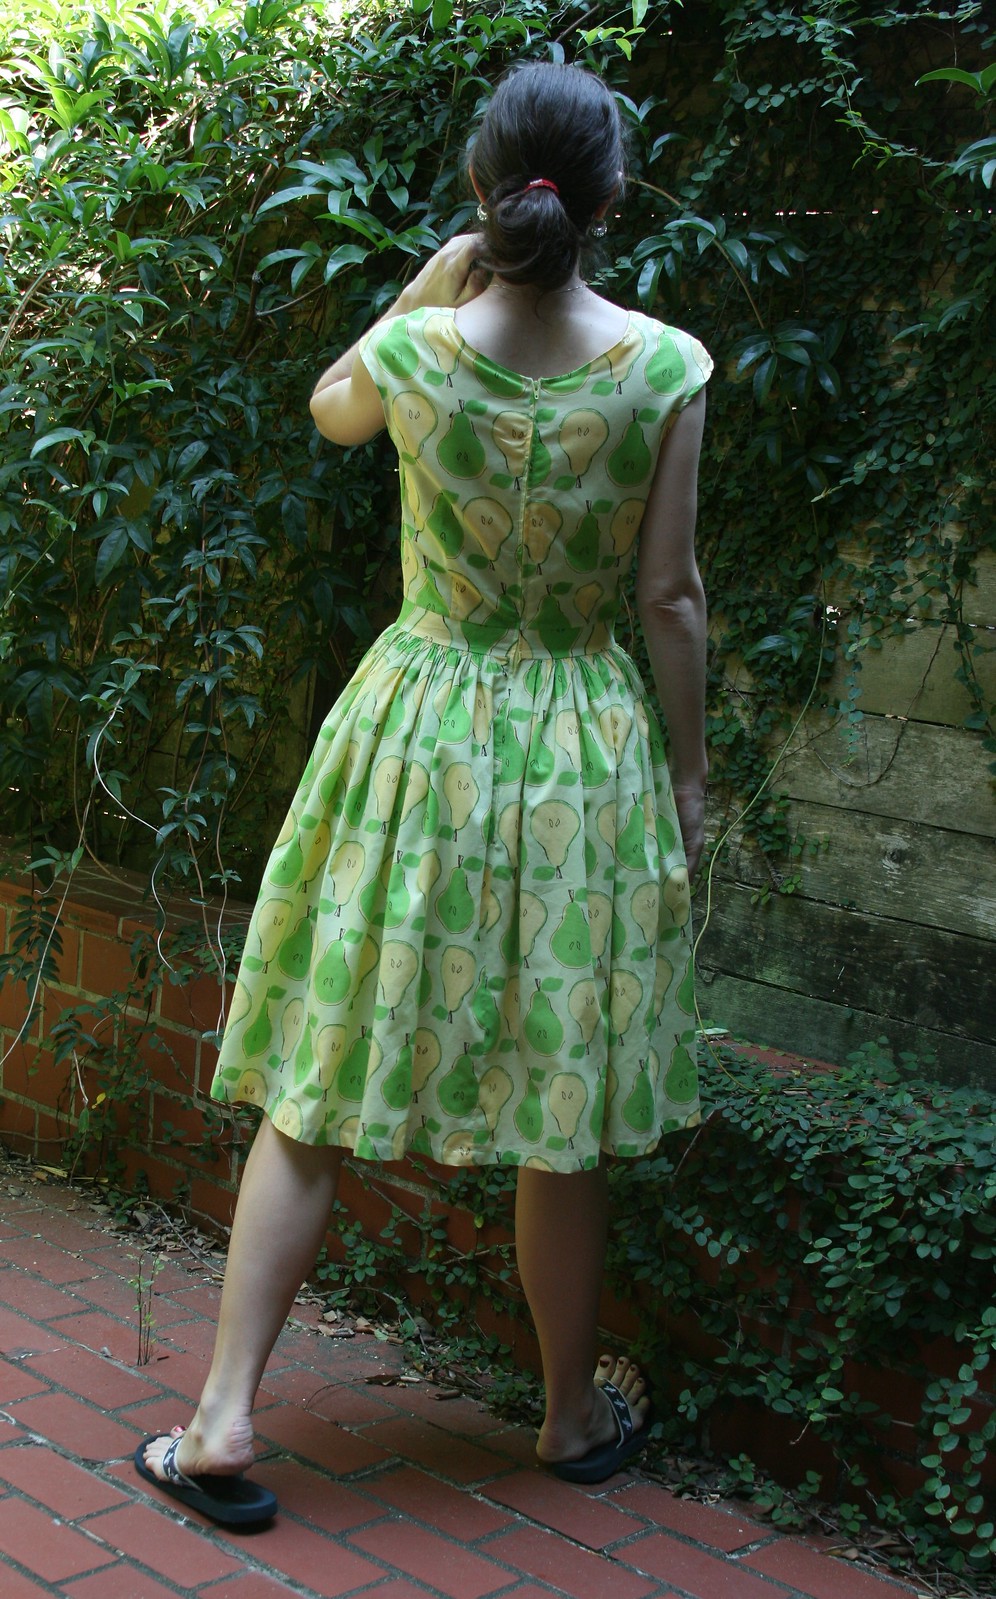
Aaaaaanyhow, let's talk about sewing.  I finished one dress before I moved that I didn't get around to blogging about:  a run at the Sewaholic Cambie.   This is up there with the Renfrew as one of my favorite patterns, but I didn't love my first rendition due to fit issues and the fact that I kept botching things.   It looks better in photos than it does in real life.
Pear fabric for a dress meant for a pear shape ...
hey, I thought it was a tiny bit witty!


It came out a bit tight in the waistband and loose in the bodice.   It also helped me come to the conclusion that a lot of gathering that starts at the natural waist is not the best look for me.  I picked photos where it wasn't so bad, but trust me on this!

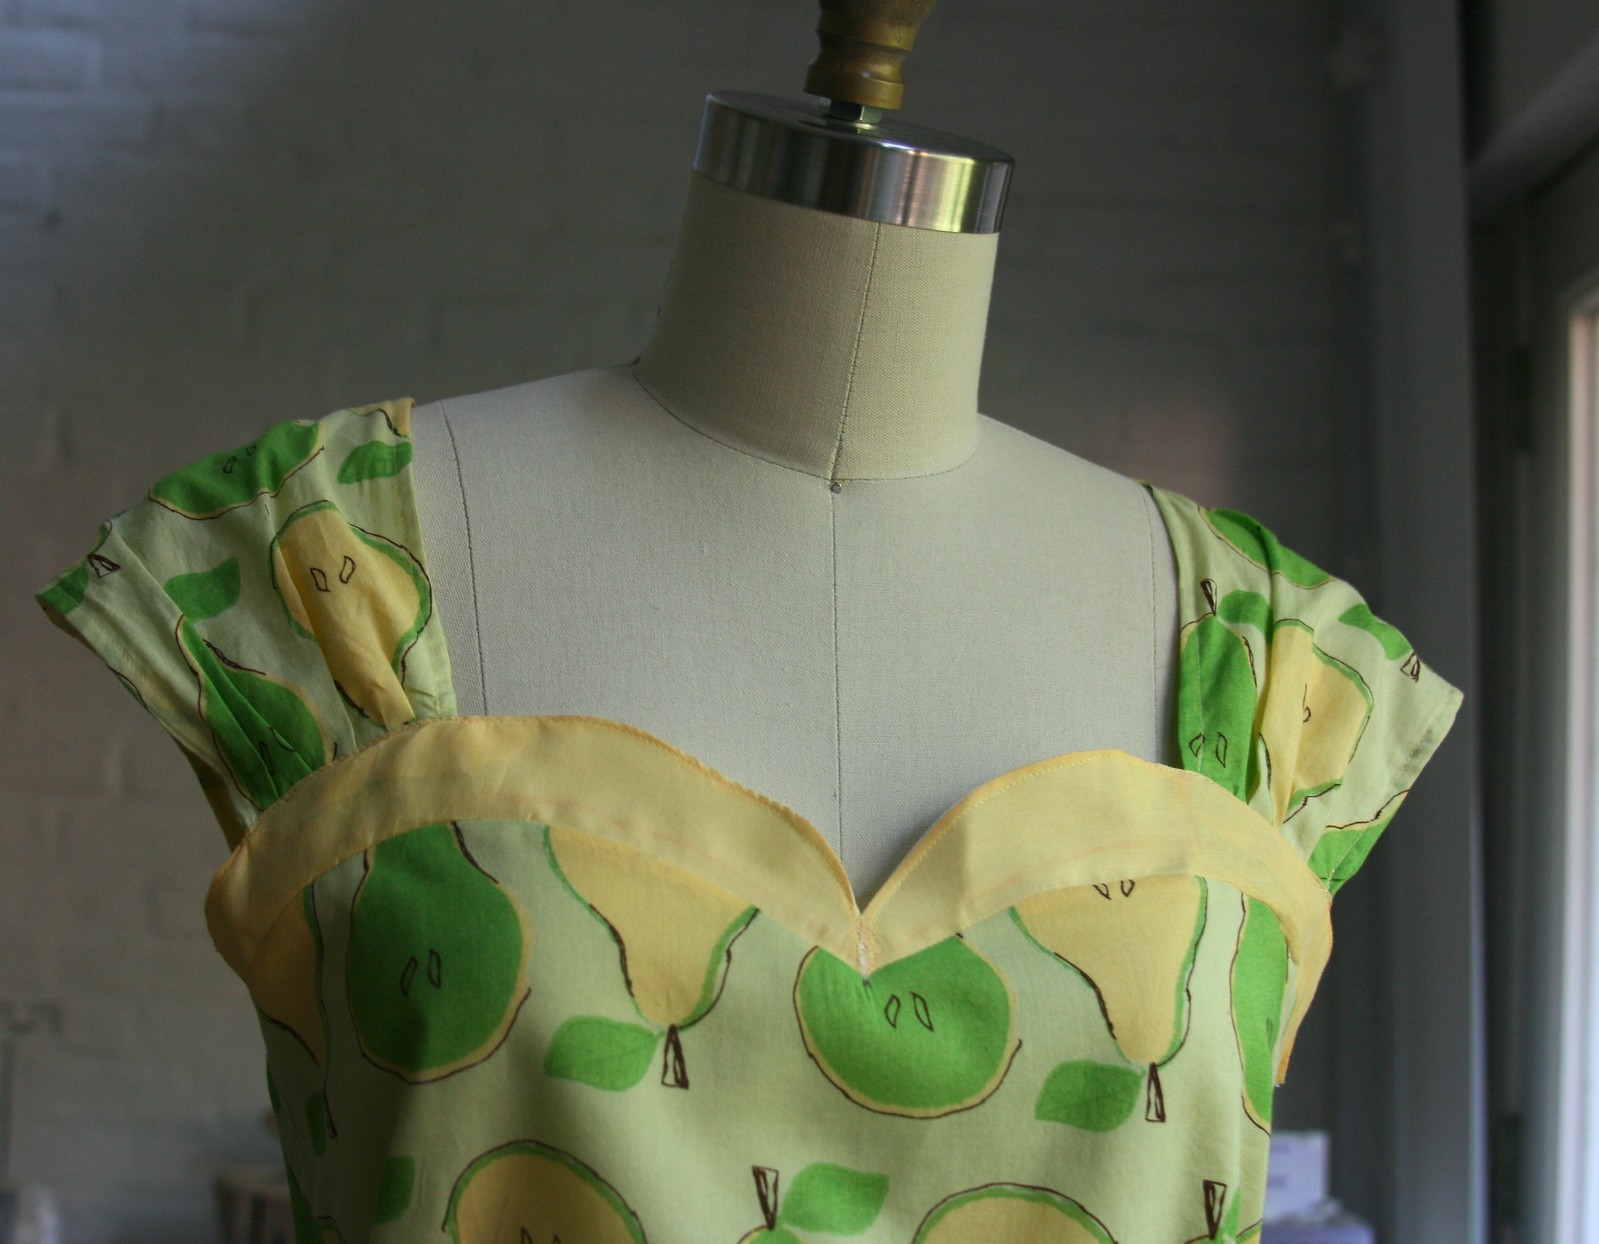
Did you notice my little adaptation of the bodice?  It was coming out too short so I improvised:


This might have worked out pretty well if I had only used some interfacing on that wimpy yellow lawn!  As-is, it doesn't have enough heft and you can see my chalk markings that I couldn't get off.  A good scrubbing might help with that, but eh, this dress ain't worth it.  

In case anyone else needs to make an eleventh-hour alteration to their Cambie, here's what my swiftly-drafted pattern piece for the extension looks like:

Eek, an eyebrow!

I just left openings for the straps on the top edge of the "eyebrow" as you would at the bodice edge, and then sewed the bottom edges into the top edges of the bodice.  I ended up  doing a little stitching in the center front to encourage the eyebrows to curve in a bit, but basically they worked, except for the lack of interfacing.  Maybe I'll even try it again on purpose someday ... jury's still out on that.

Unfortunately, there are enough strikes against this dress that it'll never, ever get worn.  It's now in the Goodwill box awaiting its fate.   However, there is a happy ending to this story:  I cut out a second Cambie with the alterations I needed and the a-line version of the skirt before I moved, and now I've finally got it sewed up.  Cambie #2 learned from the woes of Original Cambie, and fulfills the potential I knew the pattern had.  I'll show you that one soon!

Sunday, June 3, 2012

My new most favorite thing I've sewn

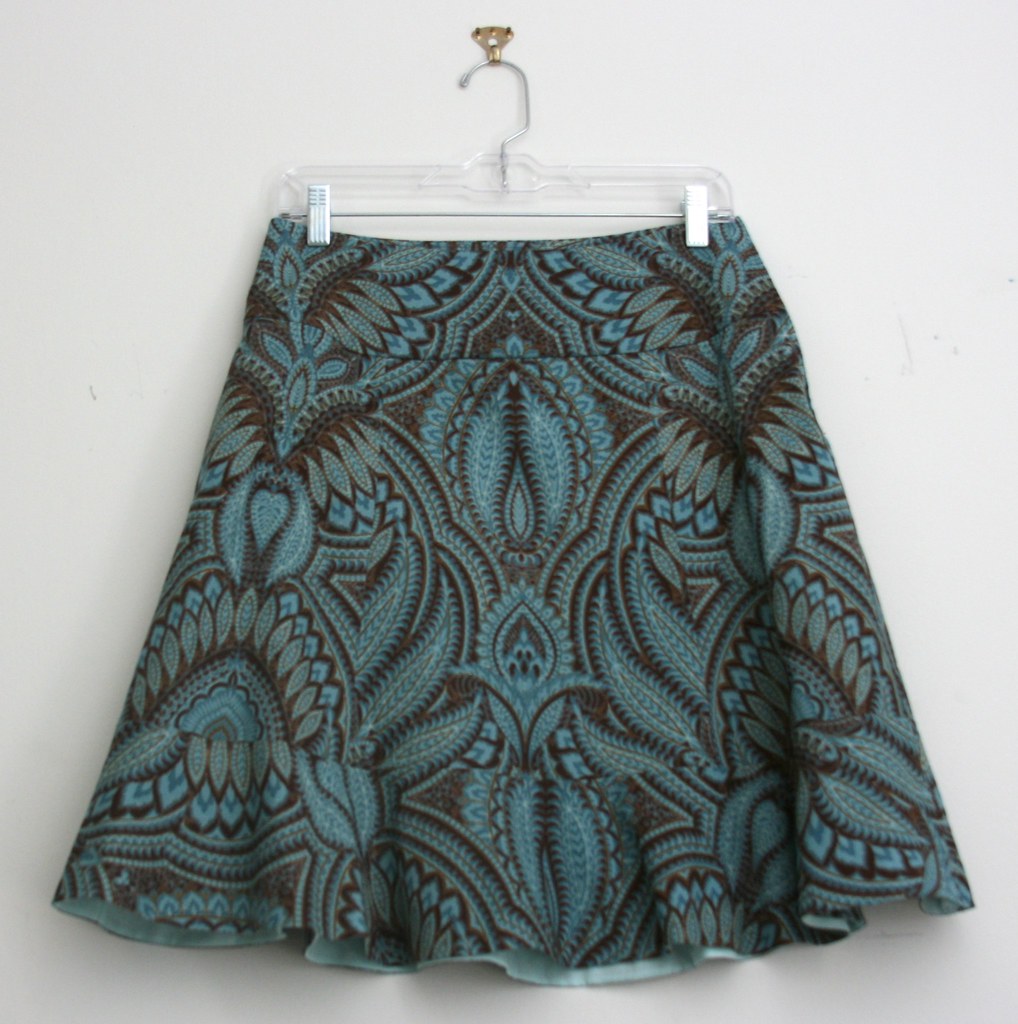
Yesterday I finished up a new skirt that I think is going to be my new favorite me-made item.   I may flatter myself, but I think it would be totally at home on a rack in Anthropologie!   No pics of me wearing it, but here it is adorning the wall of my sewing room:


Sorry for the poor image quality (my camera seems to be a bit under the weather) but you get the idea.   The pattern is Simplicity 2655 -- a modern, in-print pattern, no less.  (I'm telling ya, put it on your list for the next 99 cent pattern sale!)  I used a lovely cotton voile by Denyse Schmidt for the patterned part, navy cotton batiste for the flounce (and the lining of the flounce) and a sorta buff-colored batiste for the rest of the lining.  There's piping where the waistband joins the skirt (woo woo!) and I made 1/2" bias tape to put along the seams on the front and back of the skirt.   Taking the time to add the little details is what makes for the super-duper skirt love -- gotta remember that for the future.

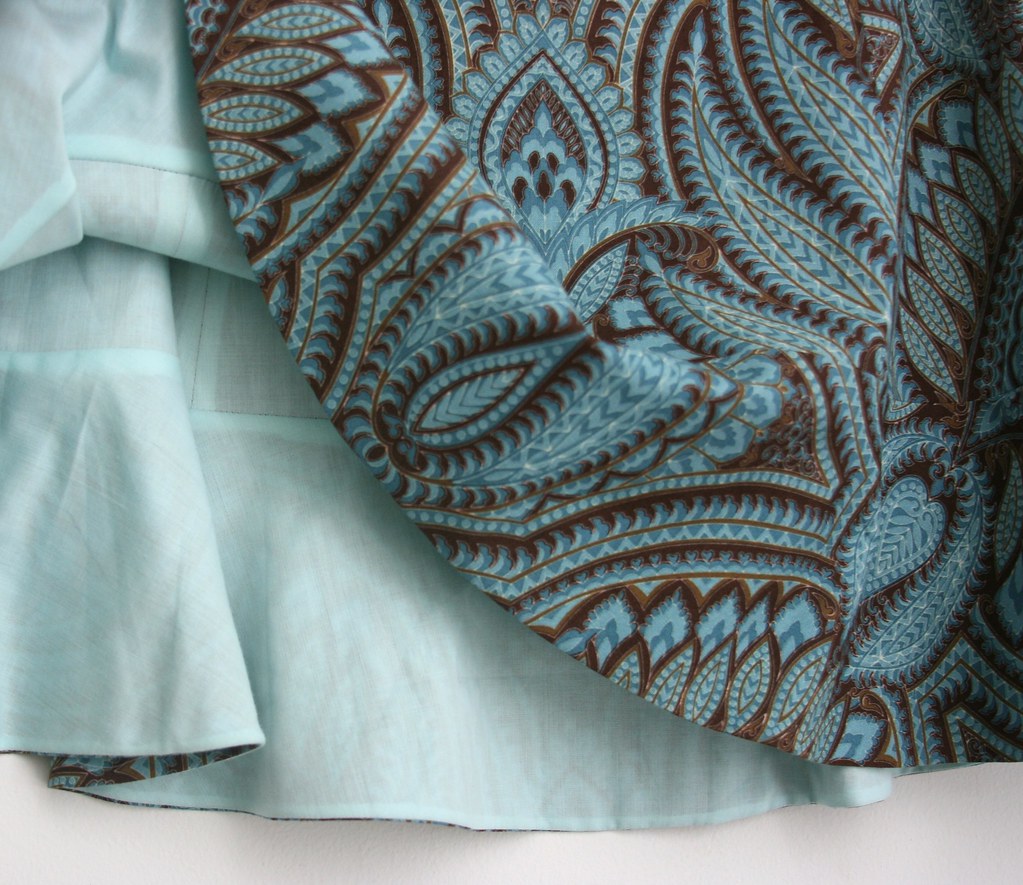
A better look at the bottom flounce

Adding cotton batiste bias tape to the seams on front and back.

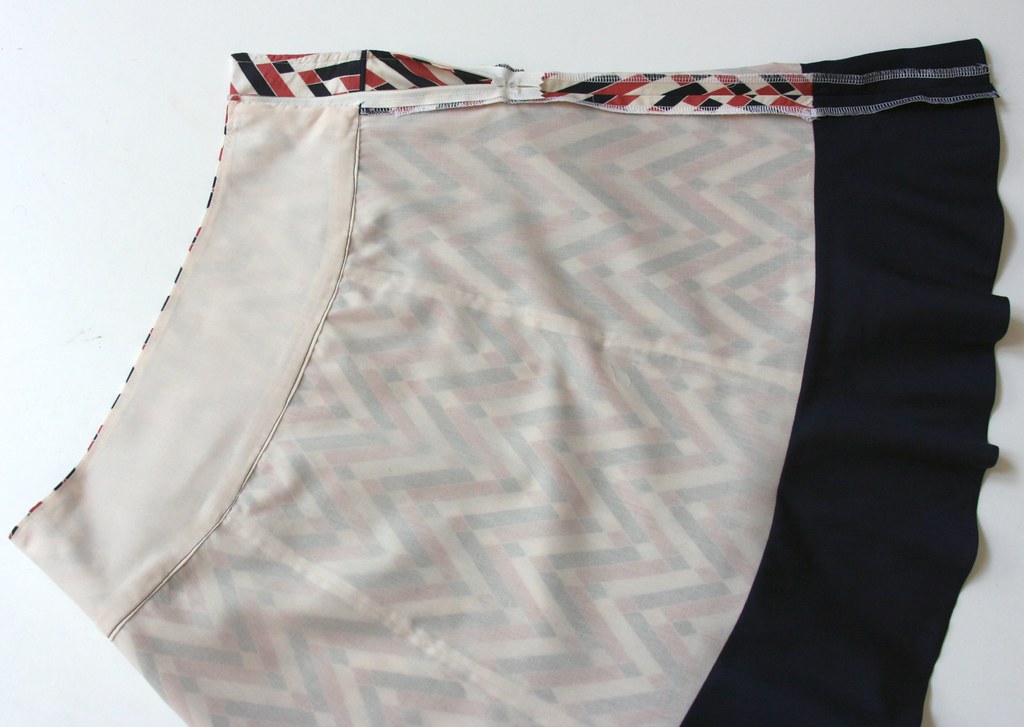
Because I didn't want to have to deal with the curving hem,  I sewed the lining and outer shell together at the bottom, which makes for a very nice finish.  From there I treated them as one:  I serged their edges together at the side seam where the zipper was placed, and they were attached to the yoke together as well.  So one side seam is not as pretty, but I think the bottom edge is a darn sight nicer looking.  It gives the flounce a nice weight, which I like .... YMMV.


The fabric choices are almost the same as a "New Moon" variant I made a while back.  That one is okay, but I don't think I took full advantage of the fabric's potential, and it's also a bit loose in the waist so it hasn't made it out of the closet too often.  (And now it is in the Goodwill box -- buh bye!)  I used the same navy batiste as a narrow band on the bottom edge.  The lining of the New Moon version is rose-pink -- I think the lighter lining makes the white areas of the print pop a bit more.  You can't tell from the photos here, so just take my word for it.  :)

So long, sucka!

I'd also done a first version Simplicity 2655 using some of my treasure trove of quilting fabric.  That one came out pretty spiffy too, and I wore it to work last week.   This particular piece of quilting fabric came from JoAnns, and the lining is cotton batiste (almost all my cotton batiste is from High Fashion Fabrics here in Houston).  For whatever reason, this is one of those quilting cottons that actually doesn't wrinkle much:  these photos were taken after being worn all day.  Even the back part I spent most of the day sitting on is barely wrinkled.


This print did dictate that I be fussy about pattern piece placement in order to end up with a final result that looks more or less balanced.  Again, the lining's attached at the hem -- I wouldn't want to sew this skirt any other way.   For both Simplicity 2655s I made, I cut size 10 at the waist and graded out to 12 at the hip, plus used a slightly narrower seam allowance on the back pieces through the derriere area.   I also angled the edge of the main skirt pieces before attaching the ruffle so that the front would be about 1/2 inch shorter than the back, which on me is what it took to get a hem that hangs even.


So, in summary -- yay for this skirt pattern.  I'd like to make a "basic" variation next.  (You know, a solid, neutral-colored skirt actually matches stuff?)  Then it'll be time to move on to something new.  But I bet I'll be back for more of this one sometime in the future!

Friday, June 1, 2012

Holy crap I am getting (a tiny bit) organized

It seems there is still some sort of blockage between my sewing machine and my blog ... I've made a few more things and not posted about them since I last posted about the things I haven't yet posted about.   Part of the problem is that once a project is finished, my enthusiasm is instantly transferred in its entirety to the next project.   As a life habit it's both a good and bad trait, I suppose, but for blogging about their sewing I'm failing to see an upside.   I think another part of the problem may be that my own posts bore me.   Obviously that's nobody's fault but my own!

Anyhow, I was struck with a very unusual desire to organize stuff over Memorial Day weekend.  I decided to tackle my jewelry collection, which lives on a shelf in my closet were things just get dumped into little piles. ("Jewelry" is actually a high-fallutin' word for what I have.  I don't have expensive tastes, thankfully!)   I also have several compartmented plastic trays of old jewelry dating back to the 1990s and before, which wasn't seeing any use at all because it was all way in the back of another shelf, behind shoes and piles of clothes.  But the organizational tipping point came when we finally started watching "Glee" via Netflix (yes, making us extremely late to the party).  I decided to eBay up some Emma Pillsbury-style jewelry, and once it arrived it became clear it had nowhere to go other than on top of the piles of other jewelry.  Which clearly would be unacceptably un-Emma Pillsbury-ish.

Anyhow, off to Container Store I went (twice -- didn't buy enough the first time) and came back with these clever little stacking compartmentalized trays made by a company that (also cleverly) named itself Neatnix.   I was able to tidy up the shelf, stash the new "Emma-esqe" necklaces, and unearth some of the ancient jewelry collection.    I also eBayed up some necklace extenders, because apparently I liked choker-like necklaces in the 90s.

I also have a nice little collection of brooches, some of which had been in a hard-to-reach Rubbermaid container that really needed to return to the kitchen where it belongs.  There were also others that were in a little metal box in the back of the closet:  those I had mostly completely forgotten about.   The ones I had not forgotten about were presumed lost to the ages so I was pretty thrilled when I dragged that thing out from behind a dusty pile of cardigans!  However, I was out of room for nifty stacking trays, and besides, I wanted to put my pins on display so that I wouldn't forget them again.

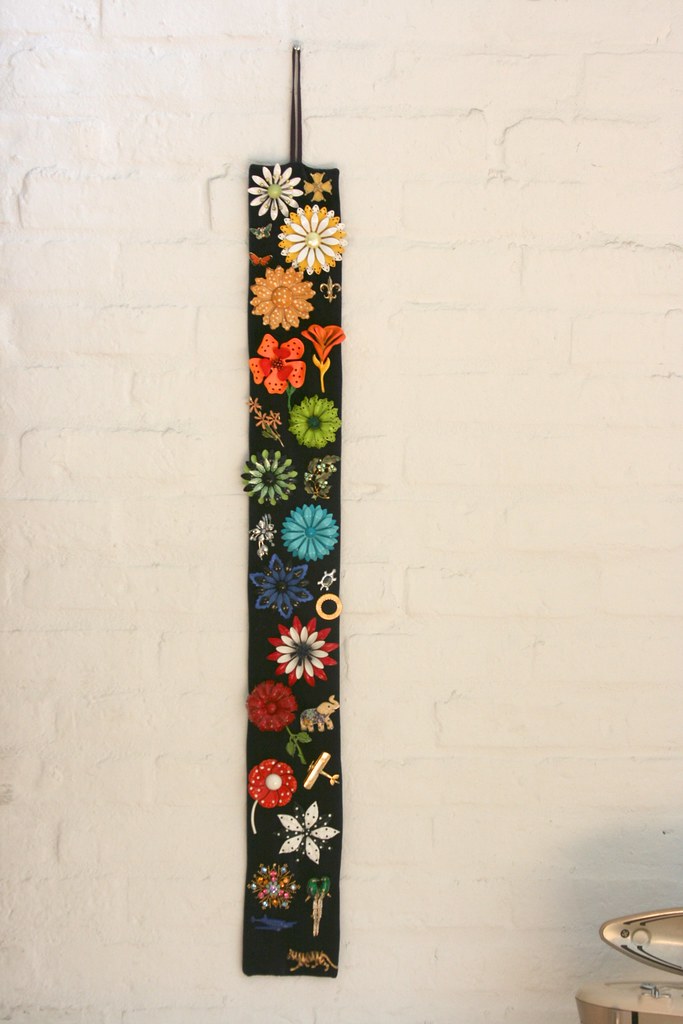
So, I made this:


It's hanging in my sewing area here, because there is no decent light near my closet.  Basically, it's a three-foot long rectangle of cotton velvet backed with quilting cotton with some interfacing sandwiched in the center.   It ain't perfect, but it gets the job done, and I rather like getting to see all my pins.  


Here are the things I'd do differently if I decide to make a second version -- I may, since this one is pretty much full up now.    I like the length, so I'd add enough width to permit two big flower pins abreast.  Also, it really needs a layer of cotton batting in the center to make it easier to pin to.  I thought of this as I was making it, but I didn't have any handy (all this material was stuff I had lying around) so I just forged ahead.


Finally, the top edge needs some twill tape reinforcement.  You can see where the loop of bias tape I'm using for a hanger is pulling from the weight of the pins.

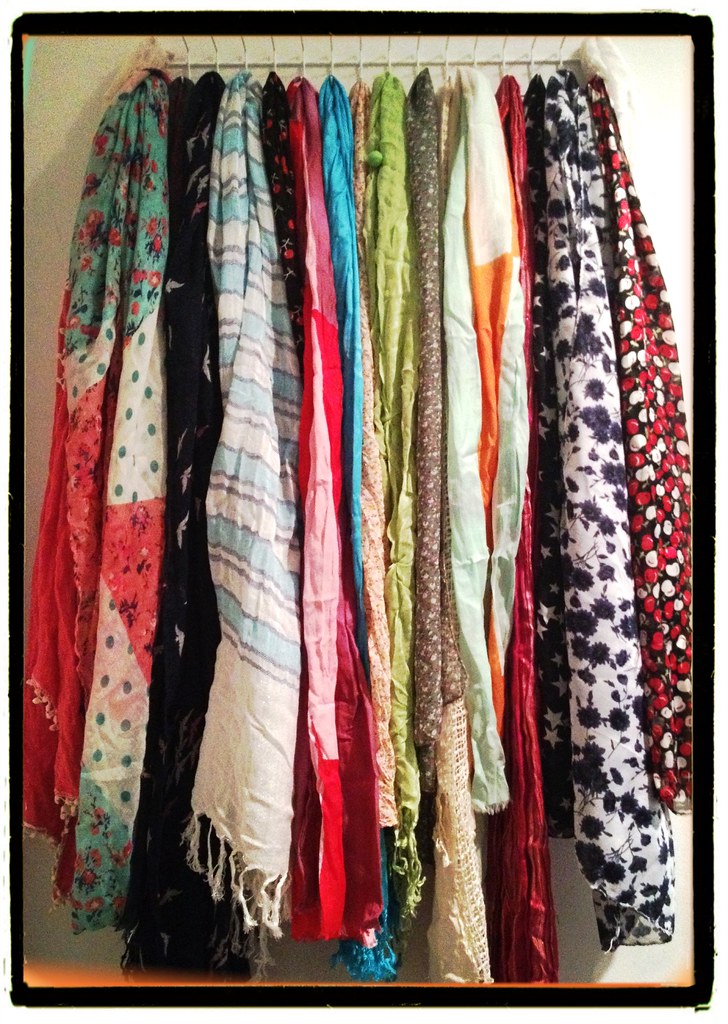
The finished item is hanging in the space between my closet and my other organizational product from last weekend, a new belt and tie rack that holds all my scarves.  (OK, most of my scarves -- I left the very wintry ones off because we won't see cold weather here for another six months at least.)  The scarves were jammed on another shelf and you couldn't pull down one without ten others coming along for the ride.  Now I can enjoy them every day.