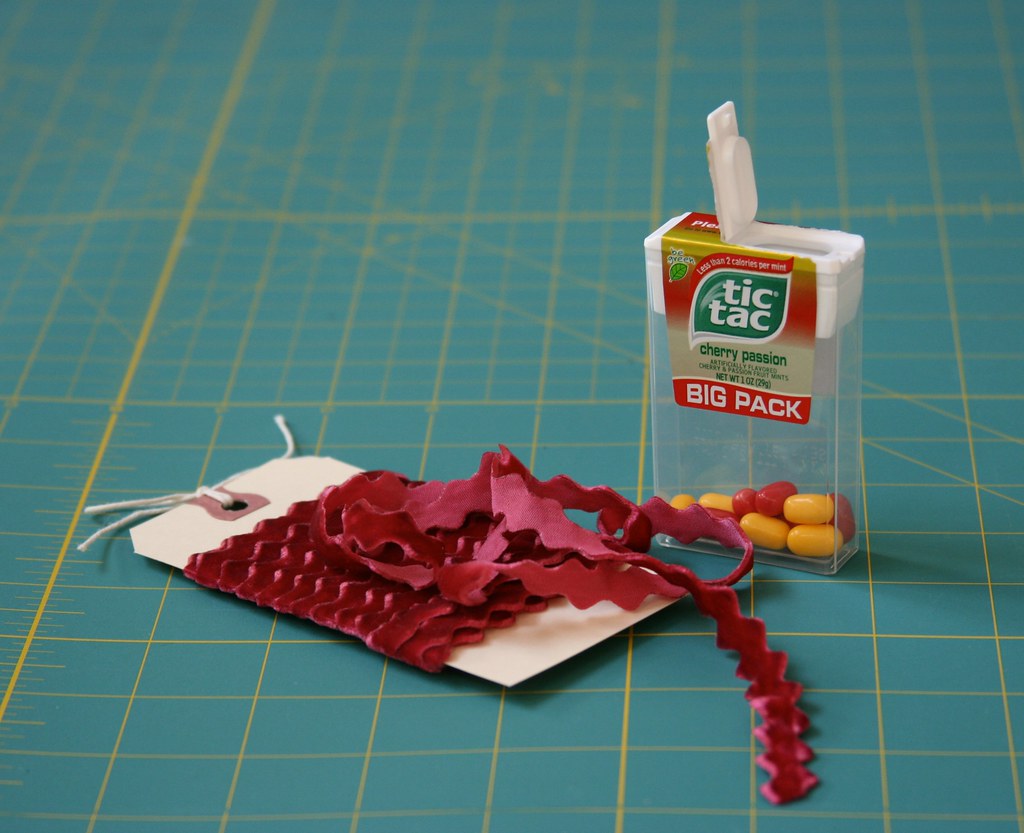
First, here's my rick-rack. (With some tic tacs ... they were on my sewing table and I could not resist the silly rhyme!) I couldn't find the color I needed locally, so I bought some from Etsy. Because I wasn't sure what would match, I bought two: one traditional rick-rack in a color called "cranberry", and this velvety stuff, which was described as "raspberry". Either could have worked with my fabric, but the velvet matched my selected buttons better.
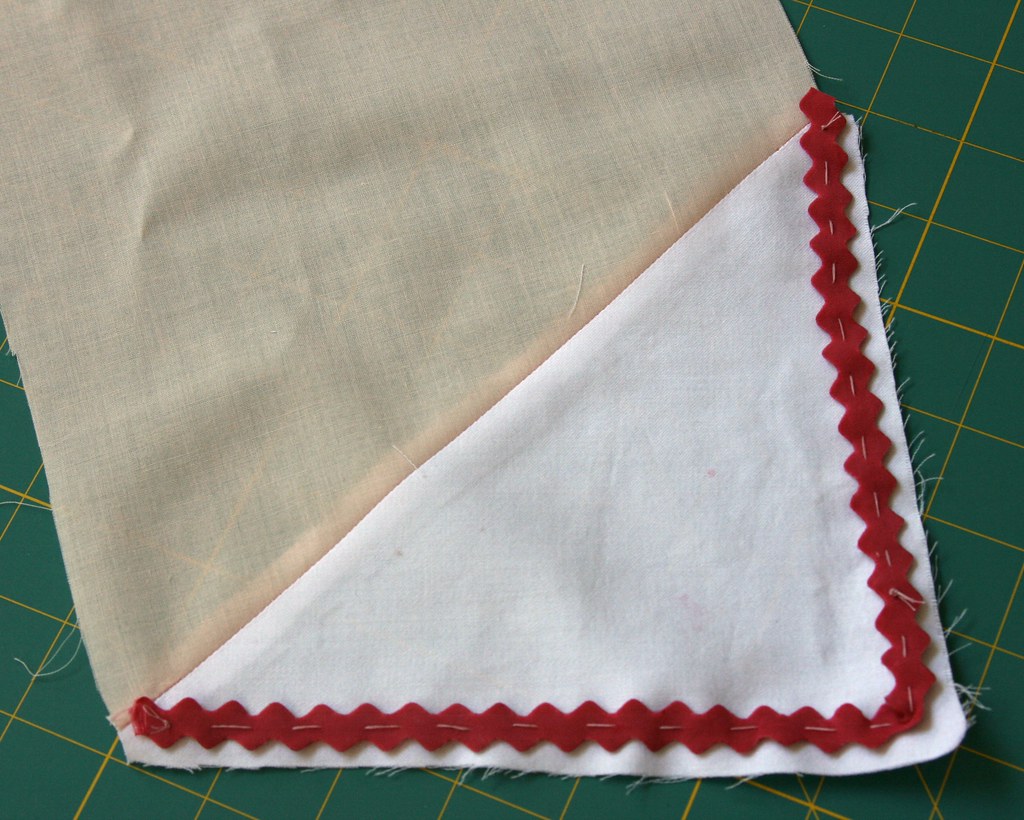
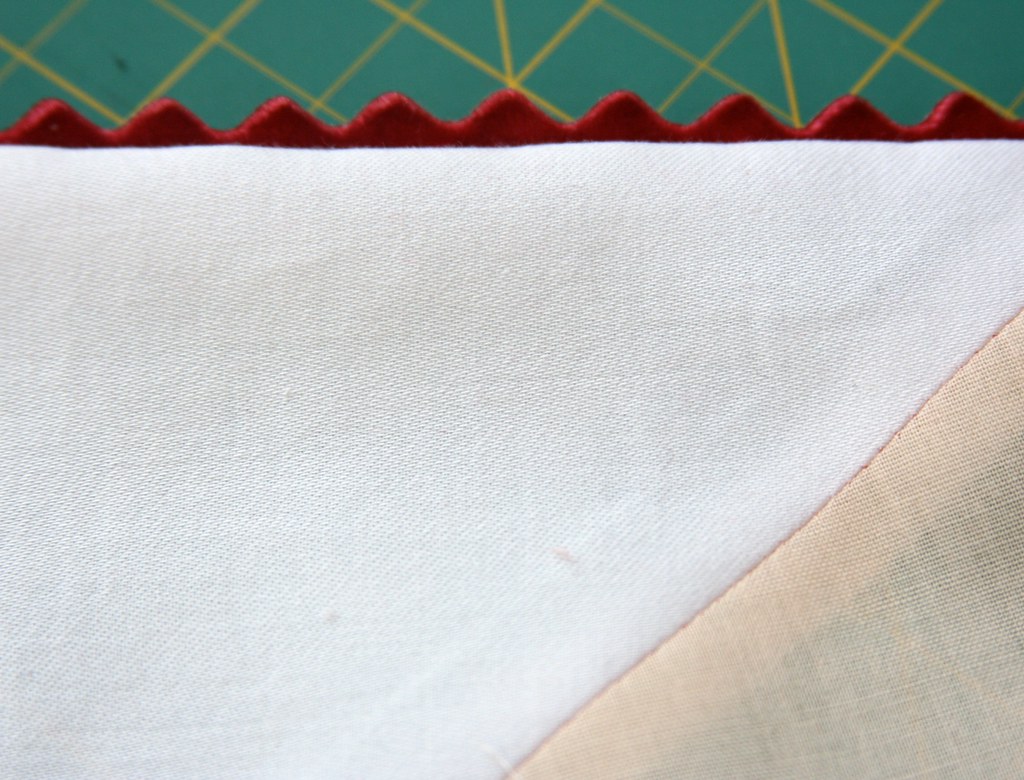
To get everything straight, I draw my seam line on the fabric, and then baste the rick-rack along it, putting the basting stitches dead center, where I also want to sew my seam. The rick-rack goes on the right side of the fabric, with the right side of the rick-rack facing down (if it has differing sides -- the velvet does). The pictured example is a pocket with a fold-over flap, and the flap gets the rick-rack. Once you get the rick-rack in place, you can put your fabric and lining/facing right sides together as usual and sew. The rick-rack will be inside the sandwich, but the basting stitches will show you exactly where to sew.
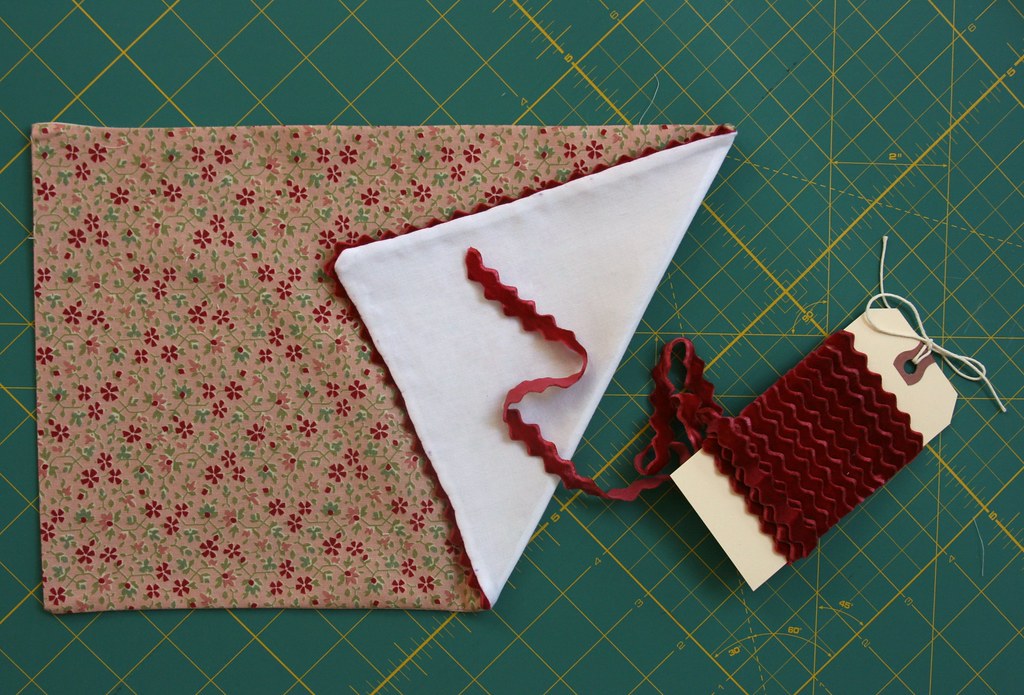
Yay! A nice rick-rack edge! And here's the finished pocket, waiting for me to get the dress together. Prefect? No, but at least the rick-rack is straight ...
I'm hoping I can finish the dress today, if my sewing machine cooperates. Last night, it decided to believe it was perpetually in bobbin winding mode, even though it is not. After a quick Google, I was able to come up with a work-around, which involves jamming a wad of fabric into the crevice by the bobbin winder. Not what the instructions on Google recommended, but it works, and I'd like to postpone disassembling my machine at least until I finish this project! This definitely motivates me to search out a zipper foot and button hole-making attachments for my Singer Rocketeer, so that I can finally sew garments from start to finish on it. I may need to if the Janome continues to misbehave.
And finally, if I can't inspire you to partake in rick-rack, how about some cupcakes? While we were out and about yesterday, I picked up a half-dozen from my favorite cupcake place. I love the current "cupcake boutique" trend. Yes I know I could make them at home, but I don't love cooking, and I'm the only one in the house who would want them.

Mmmmmm. Cupcakes.
I'm a total rick-rack fiend, too, and basting saves my tush every time. Totally worth time spent basting to save me time and aggravation ripping out and re-doing.
ReplyDeleteThat looks awesome!
they make VELVET rick-rack?!?!?!?! oh holy smokes! *heads directly to etsy*
ReplyDeleteOh gosh. Rick-rack and cupcakes are two of my favorite things on earth. I love that velvet rick-rack!
ReplyDeleteI didn't know about velvet rick rack either until I stumbled upon it on Etsy. I think I may need more. :)
ReplyDeleteLittle Black Car -- your dress looks awesome! I want to start doing more creative things with rick-rack, rather than just putting it in if the pattern includes it explicitly.
bluza rick and morty After reading your article I was amazed. I know that you explain it very well. And I hope that other readers will also experience how I feel after reading your article.
ReplyDelete